
In this article, I will give you a quick overview of the best tools for textual search in your files on Mac.
If you need to search the text of your documents in a folder on your Mac, I recommend SeekFast - a powerful tool that allows you to search for keywords in all documents in a folder. It uses intelligent technology to display the most relevant results first.
SeekFast supports all kinds of commonly used documents: Microsoft Office, PDFs, OpenOffice, LibreOffice, email files, many kinds of text files, and others.
One of the main advantages of SeekFast over all other search tools is that it can search for combinations of words, no matter where they occur in a sentence.
Furthermore, SeekFast ranks results by relevance, which allows you to instantly see the text you need among hundreds or thousands of results.
Another essential advantage of SeekFast is that you immediately see the text of all sentences in which the search words occur, which helps you easily navigate among the results. When you click on the corresponding sentence, SeekFast opens a larger part of the text without you having to open the file.


SeekFast offers a free version allowing you to search in folders with up to 50 files.
Advantages
Disadvantages
With the help of Finder you can easily search for text in the contents of the files in a given folder. This is done as follows:

This is a very brief introduction to searching with Finder, but the tool also has many advanced features, which you can learn in detail in the article How to Search on Mac with Finder.
Spotlight is a built-in desktop search tool for Mac that searches not only in your files, but also in the history of the visited websites and other sources. The purpose of Spotlight is to be a universal search tool, which always searches throughout the whole system.
However, with Spotlight you cannot narrow the search. You cannot search the files in a specific folder, which in some cases is a big inconvenience – when there are a lot of results, it will be quite difficult for you to find the document you are looking for.
Using Spotlight is similar to using Finder:
With Spotlight you can specify the type of the file you are searching for - text, picture, movie, music or application. You can also search by file extension, date, author or publisher name. For a detailed guide to these options, see the article How to Search on Mac with Spotlight.
Path Finder is a file manager that has a similar interface to Finder but offers much better control over your file system, allowing for more precise and easier searches with its dual panels, folder navigation, advanced sorting and filtering, hidden file manipulation, and much more.
You can access any folder in the hierarchy by clicking on it in the path navigator:

Similar to Apple’s Finder, Path Finder has a Search Bar, from which you can search for a file by typing your keywords.

Click on the magnifying glass to bring up a window that will show your latest keywords and some search options.

Click on the "Dual Browser" button if you want to show a second window. That way you will be able to access two different directories or make two searches simultaneously.

Advantages
Disadvantages
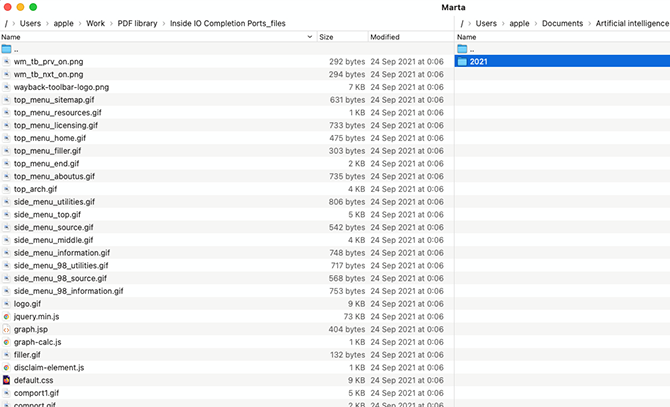
Marta is a free alternative to Finder and offers some common utilities that improve the overall searching experience: dual panel split view, folder navigator, and integrated Spotlight search. Marta’s biggest advantage is that its appearance is fully customizable through a configuration file.
Although Marta lacks the usual interface for configuring preferences, you can find a simple and detailed guide for it in the official documentation.
You can download Marta or just use the command:
brew install --cask marta
in Terminal if you already have Homebrew.
Advantages
Disadvantages
You can search your files using Terminal commands as well. It is not as user-friendly as Spotlight or Finder but allows you to make detailed searches across your whole system, including the hidden files.
There are several commands you can use to search in your system. The fastest and easiest one is "mdfind" - a command-line interface for Spotlight. Here is how to use it:
mdfind manual
Terminal will display a list of files with their full directories that contain the search term.
Another useful command is "find," which can perform a deeper search and can accept more parameters (search directory, file type, etc.). Its Linux counterpart is very similar, so if you already have experience with it, you can operate it in the same way.
Note that the "find" command requires root access, so the steps to use it are:
sudo su -
find directory_name -name file_name
Replace directory_name and file_name with the respective values you need.
find /Users -name fish – searches across all of your files in the "User" directory that contain the word "fish" and if there are any, display their full path locations.
You can ignore any entries containing warnings, such as "Operation not permitted" or "Not a directory."
To exit from your root account, just press Command+D.
The "locate" command is very useful for developers. It searches in all system files and ignores user directories.
Here is how to use it:
sudo launchctl load -w /System/Library/LaunchDaemons/com.apple.locate.plist – this generates a database with system files, which will take some time, but after that it will be updated automatically.
locate file_name
Finally, if you want more advanced searches, take a look at the "grep" command. It supports numerous properties including regular expressions. It is visibly slower than the GNU grep used on Linux; thus, if you want to use the latter, you will need to install it with Homebrew.
You can read more comprehensive and useful information about using the "grep" operator in our article How to Search Text in Multiple Files in Linux.
HoudahSpot is yet another good option to search for text in multiple files on macOS. It uses the Spotlight index, but presents the results in an improved user interface to make search easier.
In addition to the regular search, it allows you to combine various criteria. You can use this tool to search text with the following steps:

DocFetcher is another application that can search the contents of the most common file types.
Here is how to search text documents using it:


DocFetcher will show any matching results for each file.

Advantages
Disadvantages
I hope this guide was comprehensive and useful enough for you.
Now I would like to hear your opinion – which search software for Mac does the best job for you? Would you like to add something or have a question?
Please share your opinion in the comments section below.
About the author Dimitar StamenovDimitar is a software developer and entrepreneur with over 20 years of experience in software development and online marketing.
6 commentsVery helpful information but unfortunately it did not cover the particular problem I was trying to solve. Nevertheless the assistance I received was most helpful.
Dimitar Stamenov says: Hi Rob, could you share the problem you are trying to solve? Veselin Peev says:Very helpful article. I use the SeekFast tool and I like it. You have described all types of searching on Mac OS. I use some of them.
Olivier Lambert says:Thank you for this very useful overview! Is there a solution, using the Finder, for displaying the full path of each individual files returned in the search results ? Basically I would like to see an extra column giving the full path to the file. Then I can see in one view in which directories the found files are located.
NancyMcC says:Hi, thanks for this. I can’t seem to make Finder search for a phrase. It returns hits as if it was an OR search. Help.